What should you do if you find your kitchen faucet is leaking?
2025-04-25
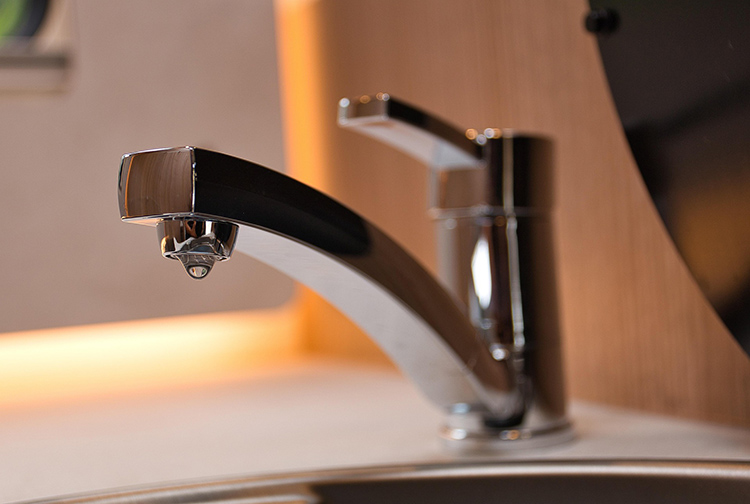
A persistently dripping kitchen faucet isn’t just an annoyance—it’s a silent budget drain. According to EPA estimates, a single leaky faucet wasting one drop per second can squander over 3,000 gallons annually. Before calling a plumber, most leaks can be resolved through systematic DIY troubleshooting.
Start by inspecting loose connections at critical junctions: the faucet-sink mounting nut, hot/cold water line couplings, handle-valve body interface, aerator threads, and supply hose fittings.
Gently tighten these with an adjustable wrench, applying thread-seal tape to enhance watertightness without overtightening.

O-ring deterioration
O-ring deterioration is a common culprit behind handle-base seepage. These rubber seals, typically lasting 2-3 years, degrade faster under hard water conditions. Shut off the supply valves, disassemble the handle to locate the worn O-ring (often a black rubber loop), and replace it with a silicone-based upgrade for extended durability. Simultaneously, inspect the valve seat for mineral buildup—a frequent issue in hard water areas. Soak copper valve seats in white vinegar for two hours to dissolve scale, followed by mechanical scrubbing using a specialized valve seat brush. For severe corrosion, complete valve seat replacement (15 − 30) proves more cost-effective than repeated cleanings.
Cracked gasket
Washer wear remains a prime cause of persistent drips. After shutting off the water supply, dismantle the cartridge to compare old and new washers, opting for nylon-reinforced variants coated with food-grade silicone grease to prolong service life. Don’t overlook aerator clogs—a surprisingly common leak trigger. Unscrew the faucet tip, soak the aerator in citric acid solution, and scrub its mesh with a soft brush to restore optimal flow (1.5 GPM+ models recommended for easier maintenance).

Is the cartridge complete?
Proactive hardware checks should evaluate ceramic cartridge integrity through rotational resistance tests, inspect zinc alloy bodies for hairline cracks, verify spring tension, and examine thread conditions. In regions with water hardness exceeding 7 grains per gallon, install a 5-micron pre-filter and electronic descaler to minimize mineral deposits, supplemented by biennial pipe hydro-jetting. Post-repair, conduct a 72-hour leak test using absorbent paper under the faucet, track water meter readings to quantify savings, and schedule component replacements via maintenance apps like HomeZanda.
While most leaks are DIY-repairable, persistent issues warrant professional intervention. Licensed plumbers certified by NASTT or IAPMO can perform pressure tests (85−150 average) to diagnose hidden faults. Timely action not only curbs water bills but prevents collateral damage—neglected leaks often lead to $500+ countertop repairs according to HomeAdvisor data.
What's the Hottest Faucet Finish for Your Bathroom?
How to choose a perfect faucet from a professional perspective